
Hey Guys x
I was watching some tutorials on YouTube, when I came across this design. It took a while to get it the way I wanted, but I really love that retro look. I think its really in style right now. And its super cute. .... I had to dress up!
Groovy!
It pretty simple and you don't need any fancy equipment. Anyone can do it at home. All you need is...
- your chosen nail polishes. I'm using these red herrings nail polishes that I got for my birthday. I recommend not using old dry or glittery nail polishes. Iv'e been practising all day and I found out that glittery and old, thick nail polishes don't work at all. :(
- Some tap water
- nail polish remover, some cotton buds and some cotton wool. It does get on the sides of your finger, but it easy to get off.
- some tape. The best type to use is masking tape.
- An old bowl or container.
Steps:

Step 1: pour some water into the bowl. Don't fill it too high. If your nail polishes are dry and a bit old,
use warm/hot water, because it makes the nail polish easily spread out.

Step 2: Mummify your finger! using 3 small pieces of tape, cover around your finger, making it
as close to your nail as possible. This makes it easy to clean up afterwards.

step 3: choose your colours. Shake well and add a drop of your first colour. This bit is the really important
part, and it needs to be done really fast, otherwise the colours will dry up and not stick to your nail.
It should spread around like this, if not add another drop or use hotter water.

Step 4; add your other colours. Iv'e chosen bright, fun colours to go with my Disco theme.

Step 5: with a toothpick start creating your design. By now the first colour (mint green) is dry so start from the next colour. I done this by drawing the outer layer inwards, into the centre.
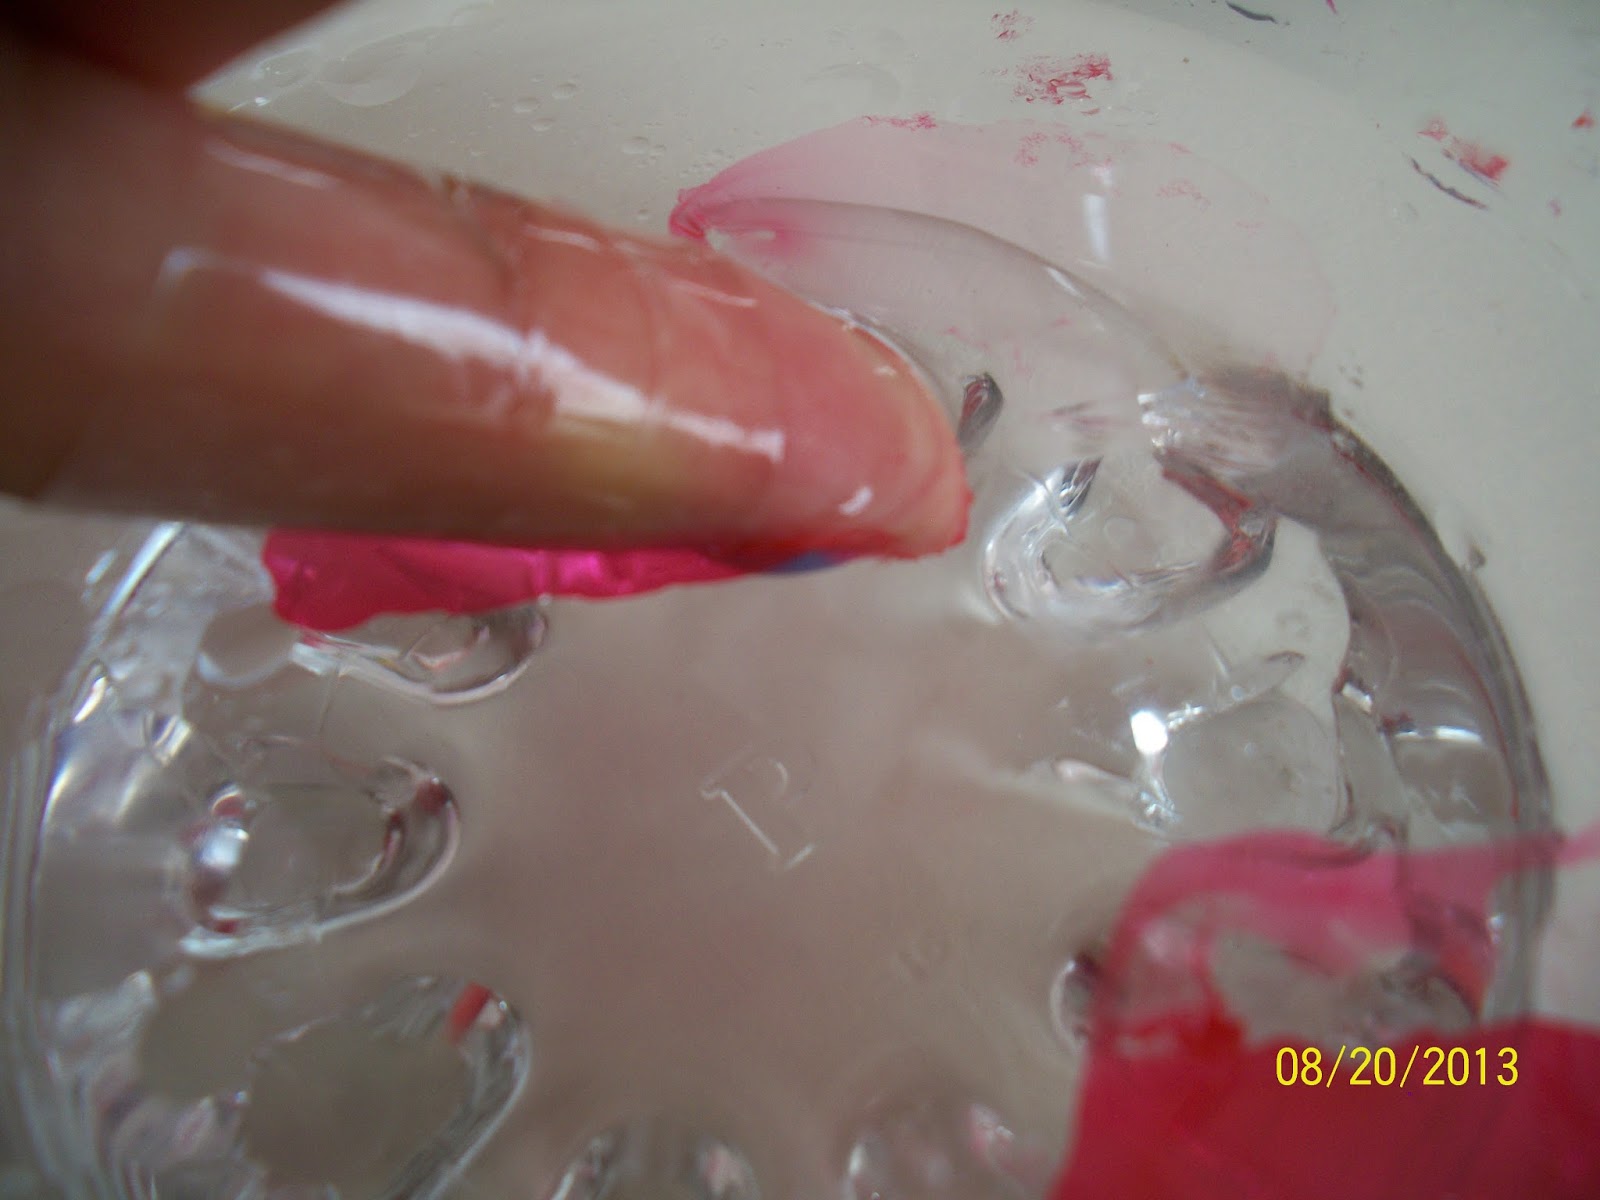
Step 6:dip in your nail slowly. whilst your nail is still in, get a cotton bud and remove any excess nail polish
in the water. Slowly lift up your nail. Clean up the sides and remove the tape. Just use some nail polish remover if there is still any left over. It took a long time to dry, but it was worth the wait!! :)

Heart design. <3

There's so many possible outcomes.


send me some of your nail designs, I'll love to see yours <3
Love Beauty. Love Make Up. Love Life.
Beedie x
p.s. sorry about the mess mum

Peace and Love ☮
Omg thats such a cool DIY! Love the nails!!
ReplyDeletexx Janice
UnwrittenDetails.blogspot.com
:) Thank you so much! glad you liked it <3 x
Delete